

Applying tung oil on wood is a time - honored technique that enhances the natural beauty of wood while providing it with protection against the elements. As a seasoned tung oil supplier, I've witnessed firsthand the transformative power of this remarkable oil on various wood projects. In this blog post, I'll guide you through the process of applying tung oil on wood, from preparation to the final finish.
Understanding Tung Oil
Tung oil, also known as China wood oil, is derived from the seeds of the tung tree. It has been used for centuries in Asia for various applications, including wood finishing. One of the main advantages of tung oil is its ability to penetrate deep into the wood fibers, creating a hard, durable, and water - resistant finish that does not peel or crack over time.
If you're new to tung oil, you might want to check out CHINESE TUNG OIL. This product is sourced from high - quality tung seeds and has excellent properties for wood finishing.
Preparing the Wood
The first step in applying tung oil is to prepare the wood surface properly. This is crucial as it will ensure the oil adheres well and provides an even finish.
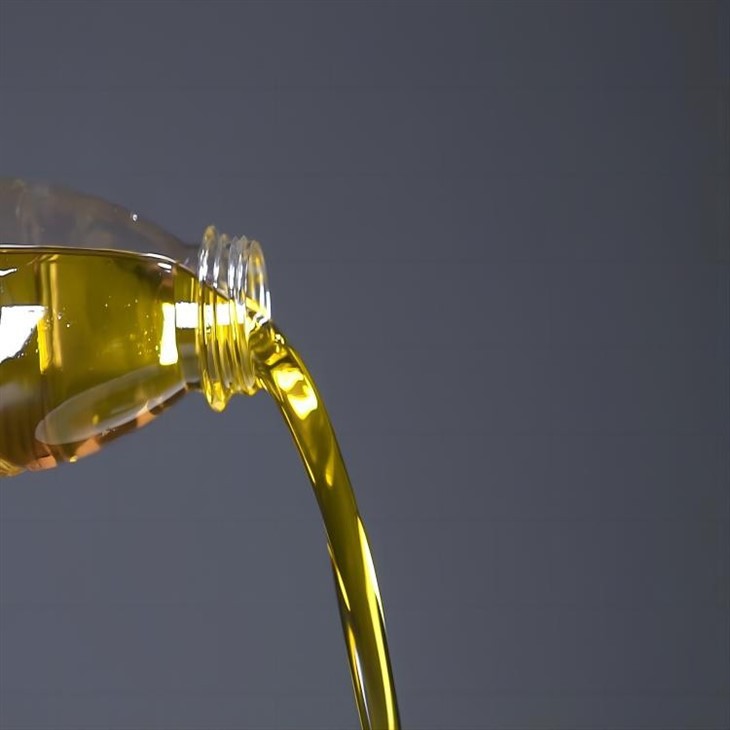

- Sanding: Start by sanding the wood with a medium - grit sandpaper (around 120 - 150 grit) to remove any rough spots, splinters, or old finishes. After the initial sanding, use a finer - grit sandpaper (180 - 220 grit) to smooth the surface further. Make sure to sand in the direction of the wood grain to avoid scratch marks.
- Cleaning: Once the wood is sanded, clean the surface thoroughly to remove any dust or debris. You can use a clean, dry cloth or a vacuum cleaner with a soft brush attachment. If there are any stubborn stains or dirt, you can use a mild wood cleaner, but be sure to rinse the wood well and let it dry completely before applying the tung oil.
- Masking: If there are any areas of the wood that you don't want to be coated with tung oil, such as metal hardware or adjacent materials, use painter's tape to mask them off.
Choosing the Right Tung Oil
There are different types of tung oil available on the market. For most wood finishing projects, I recommend Pure 100% Natural Tung Oil For Wood Finishing And Waterproofing. As the name suggests, it is 100% natural, free from harmful chemicals, and provides a beautiful, amber - colored finish.
If you're working on a large - scale commercial woodworking or carpentry project, you might consider Bulk Tung Oil For Commercial Woodworking & Carpentry. Buying in bulk can be cost - effective and ensures you have enough oil for your project.
Applying the Tung Oil
Now that the wood is prepared and you've chosen the right tung oil, it's time to apply it.
- Test Area: Before applying the tung oil to the entire piece of wood, it's a good idea to test it on a small, inconspicuous area. This will allow you to see how the oil reacts with the wood and to determine if you need to adjust the application method or the number of coats.
- Applying the First Coat: Pour a small amount of tung oil onto a clean, lint - free cloth or a natural - bristle brush. If using a cloth, fold it into a pad to make it easier to apply the oil. Start applying the oil in the direction of the wood grain, working in small sections. Make sure to apply an even coat, covering the entire surface of the wood. After applying the oil, let it soak into the wood for about 15 - 20 minutes. Then, use a clean cloth to wipe off any excess oil. Leaving excess oil on the surface can cause the finish to become sticky and uneven.
- Drying Time: The drying time of tung oil depends on several factors, such as the temperature, humidity, and the type of wood. In general, the first coat should dry for at least 24 hours before applying the second coat. You can check if the oil is dry by touching the surface lightly. If it feels dry and non - sticky, it's ready for the next coat.
- Applying Additional Coats: For a more durable and waterproof finish, it's recommended to apply at least 2 - 3 more coats of tung oil. Repeat the process of applying the oil, allowing it to soak in for 15 - 20 minutes, and then wiping off the excess. Make sure to sand the surface lightly with a fine - grit sandpaper (around 320 grit) between each coat to promote better adhesion. This will also help smooth out any imperfections in the finish.
Finishing Touches
After applying the final coat of tung oil and allowing it to dry completely (usually 3 - 5 days, depending on the conditions), you can give the wood a final buffing with a soft cloth to enhance the shine.
Tips for a Successful Application
- Work in a Well - Ventilated Area: Tung oil has a strong odor, especially when it's wet. Make sure to work in a well - ventilated space to avoid inhaling the fumes.
- Store Tung Oil Properly: Tung oil is flammable, so it's important to store it in a cool, dry place away from heat sources and open flames. Also, make sure to keep the container tightly sealed to prevent the oil from drying out.
- Be Patient: Applying tung oil is a slow process, but the results are well worth the wait. Rushing through the application or not allowing the oil enough time to dry can lead to a poor finish.
Contact for Purchase and Consultation
If you're interested in purchasing tung oil for your woodworking project or need more information about the application process, don't hesitate to reach out. We're here to offer you the best quality tung oil products and professional advice to ensure your project is a success. Whether you're a DIY enthusiast or a commercial woodworker, we have the right solution for you.
References
- "Wood Finishing: The Complete Guide" by Bob Flexner.
- Various industry reports on natural wood finishes and tung oil applications.